ONDA
Home Components Transitions Effects Benchmark Docs GitHub

Render-to-texture

Effects, rendered by the engine.

Effects render to a texture, get processed on the GPU, and composite back — by the same engine that exports your video. Two views: play with the per-node effects live, or see the export-only cinematic finishing passes.

A blur, bloom, grade or goo prop on any node — rendered to a texture, processed, and composited back, live in your browser. Pick one to see it play, and copy the code.

CINEMATIC FINISHING

The finishing pass — exported, native, premium-tier.

These are the export/native finishing moves — the difference lives in the GPU compute pass, so the live page degrades them (fBm falls back to a smooth gradient, the cinematic finish to its raw gamma frame, light-wrap to the un-wrapped node) and each before/after is an exported still. The one exception is morphPath: pure authoring, zero engine change, so it plays live.

01

fBm gradient

fBm gradient before
flat linear
fBm gradient after
fBm

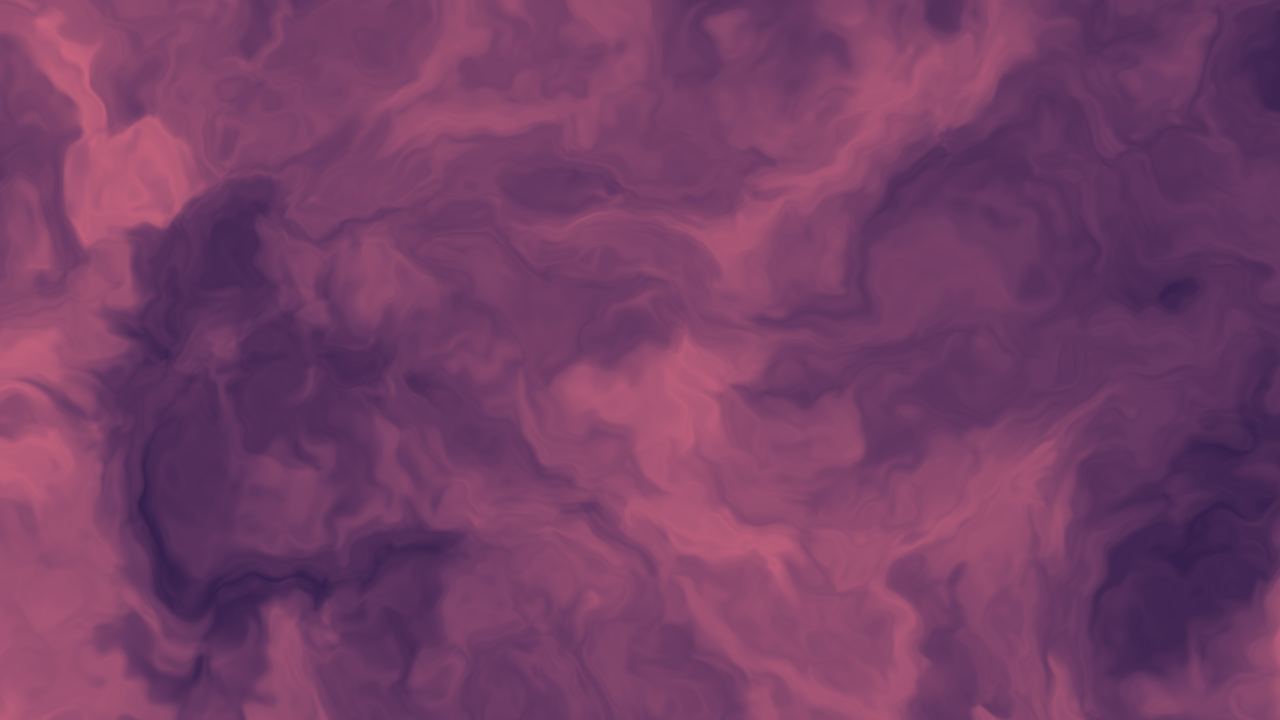
Left, a flat 2-stop linear ramp. Right, the SAME stops as an fBm gradient — the soft, flowing Stripe/Linear-tier surface that reads "expensive," the tell that a backdrop was art-directed, not just filled. Fractal Brownian motion over 2D Simplex noise plus a domain-warp, run as a GPU compute pass; animate time for a living surface.

<Rect width={W} height={H} fill={fbmGradient(stops, { scale: 1, warp: 0.5, time: frame / fps })} />
02

Cinematic finish — one prop, the whole chain

Cinematic finish — one prop, the whole chain before
raw · gamma
Cinematic finish — one prop, the whole chain after
finish

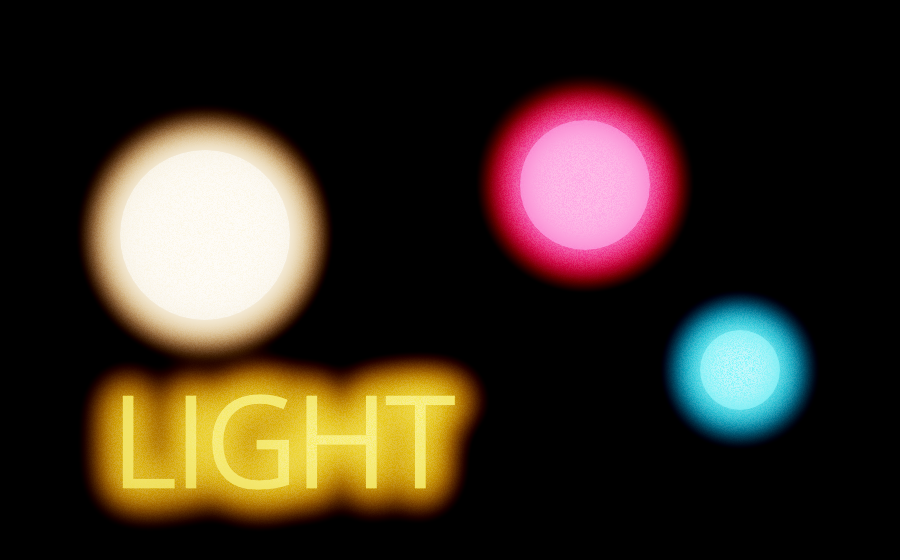
The "looks shot" output transform as a SINGLE Composition prop. <code>finish</code> runs the entire finishing chain in scene-linear light with HDR headroom, ending in ONE ACES film tone-map — landing the whole comp as one photographed image instead of a stack of separate filters. Here, left→right: bloom bleeding REAL light (highlights exceed 1.0 and roll off, not a clamped overlay), a warm halation fringe, a film grade (white-balance + contrast + saturation), a drawn-in vignette, and fine luminance-banded grain — all composited together and tone-mapped ONCE. The key move: unlike per-node effects (Vello hands those back 8-bit between passes, so the HDR is lost), the finish decodes to float and keeps everything in linear HDR right up to the single tone-map.

<Composition
  finish={{
    bloom: { sigma: 18, intensity: 2.4 }, halation: 0.7,
    temperature: 0.22, contrast: 1.12, vignette: 0.42, grain: 0.05,
  }}
>
  <Plate />
</Composition>
03

Motion blur — shutter-angle, per object

Motion blur — shutter-angle, per object before
1 sample · sharp
Motion blur — shutter-angle, per object after
180° · 18 samples

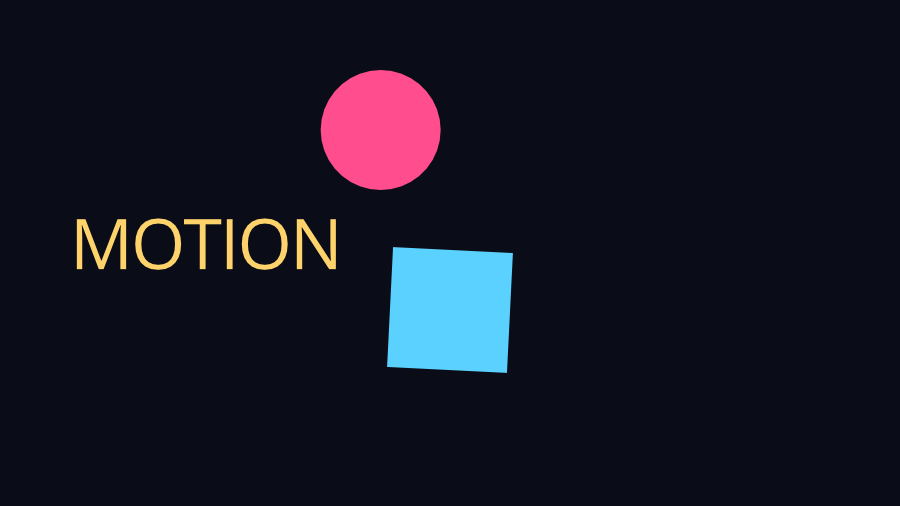
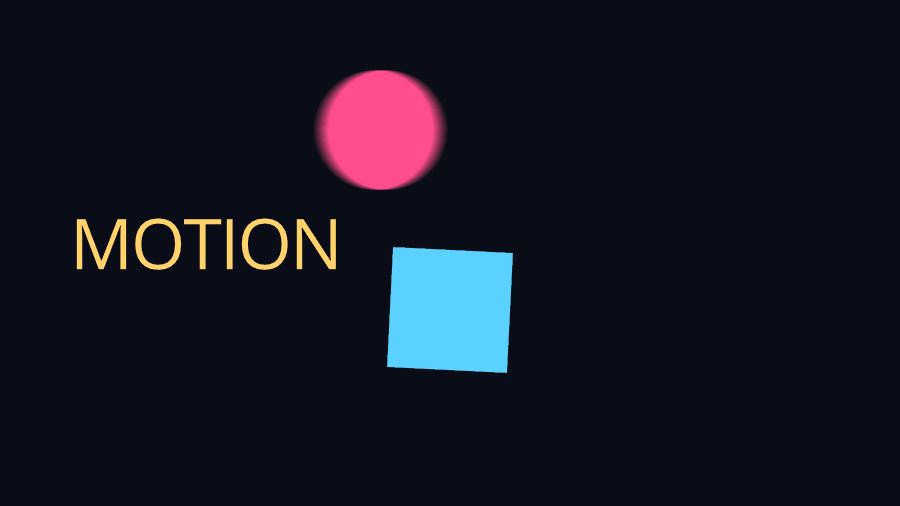
The single biggest "amateur vs pro" tell in motion. One prop on the Composition — <code>motionBlur</code> — and every output frame becomes the average of N sub-frames spread across the shutter window, so anything that MOVES smears by its own motion while static elements stay razor-sharp. Left, frame 8 rendered once; right, the same instant averaged over an 180° shutter: the circle smears along its travel, the square’s corners smear from its spin, the "MOTION" text (static) stays crisp. It’s true temporal supersampling, so it catches translation, rotation, scale — anything that’s a function of the frame — not just a velocity streak. Cost is N× the render, so it lands at export (the live preview shows the sharp frame).

<Composition motionBlur={{ shutter: 180, samples: 16 }}>
  <FastMove />
</Composition>
04

Depth of field — a 2.5D rack focus

Depth of field — a 2.5D rack focus before
no dof · flat
Depth of field — a 2.5D rack focus after
focus → subject

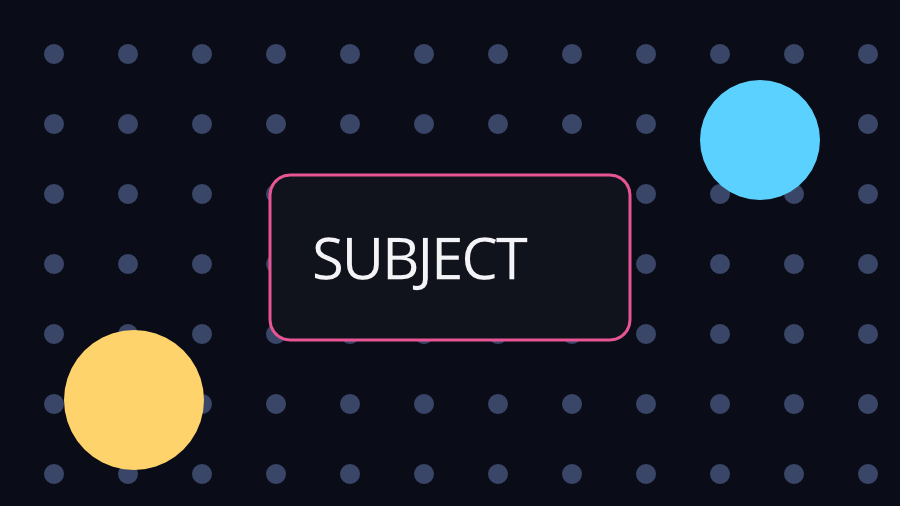
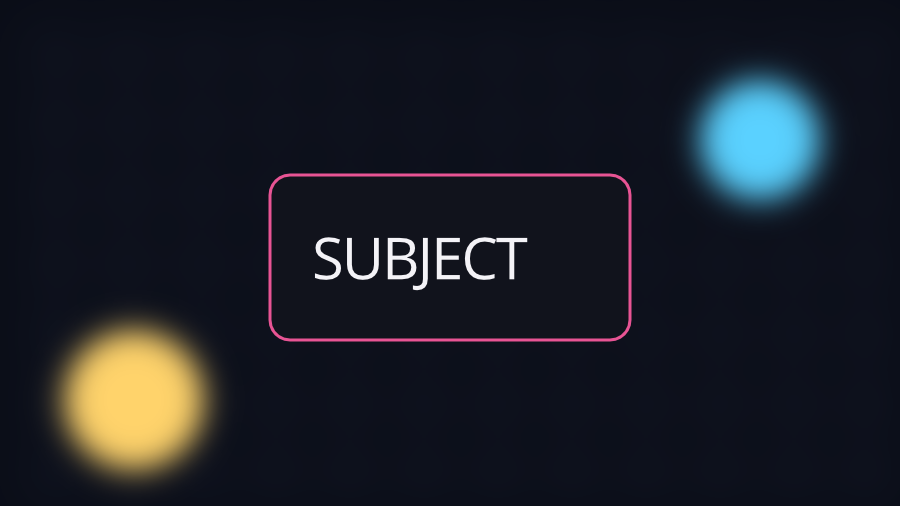
Give each layer a <code>depth</code> and the Composition a <code>dof={{ focus }}</code>, and every layer defocuses by how far its depth is from the focus plane — the lens move that separates a subject from its world and guides the eye. Left, everything in focus (flat); right, focus pulled to the SUBJECT card: the far dot-field melts to a soft wash, and the near orbs bloom into round bokeh. Animate <code>focus</code> for a rack-focus pull between layers. It resolves to a per-layer blur (it reuses the blur pass, so it works on both backends and the live preview), and the depth is yours to assign — no true 3D required.

<Composition dof={{ focus: 400, aperture: 0.06 }}>
  <Group depth={900}><Background /></Group>
  <Group depth={400}><Subject /></Group>
  <Group depth={120}><Foreground /></Group>
</Composition>
05

3D scene — layers in a perspective world

3D scene — layers in a perspective world before
flat · 2D row
3D scene — layers in a perspective world after
3D · cover-flow

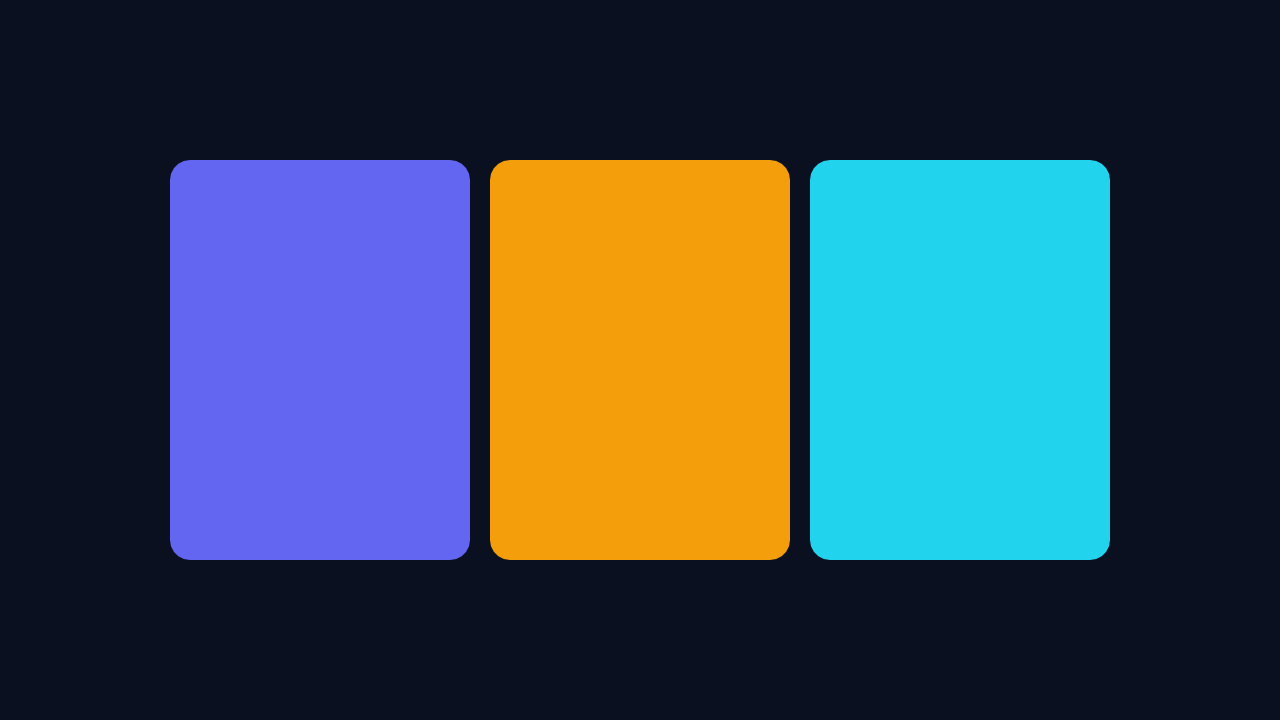
Wrap layers in <code>&lt;Scene3D&gt;</code> and they share ONE perspective 3D world: each becomes a flat plane placed by <code>position3d={[x, y, z]}</code> and tilted by <code>rotation3d</code>, viewed through a perspective camera with a real depth buffer. Left, three cards laid out flat in 2D; right, the same cards in 3D — the centre faces us while the side cards YAW inward, foreshortening into trapezoids a 2.5D scale can never fake. The mograph core of "3D": camera fly-throughs, card walls / cover-flow, parallax, exploded UI, 3D titles. A layer at <code>z=0</code> with no rotation matches its 2D placement, so going 3D costs nothing until you move in z. The GPU runs the true perspective and out-of-plane rotation; the live preview and CPU reference degrade to a 2.5D depth-sorted projection — so judge the tilt on a native/export render.

<Scene3D camera={{ position: [640, 360, -1150], fov: 46 }}>
  <Card position3d={[250, 360, 260]} rotation3d={[0, 55, 0]} />
  <Card position3d={[640, 360, 0]} />
  <Card position3d={[1030, 360, 260]} rotation3d={[0, -55, 0]} />
</Scene3D>

06

Extruded 3D — solid logos & titles

Extruded 3D — solid logos & titles before
flat · 2D
Extruded 3D — solid logos & titles after
extruded · 3D

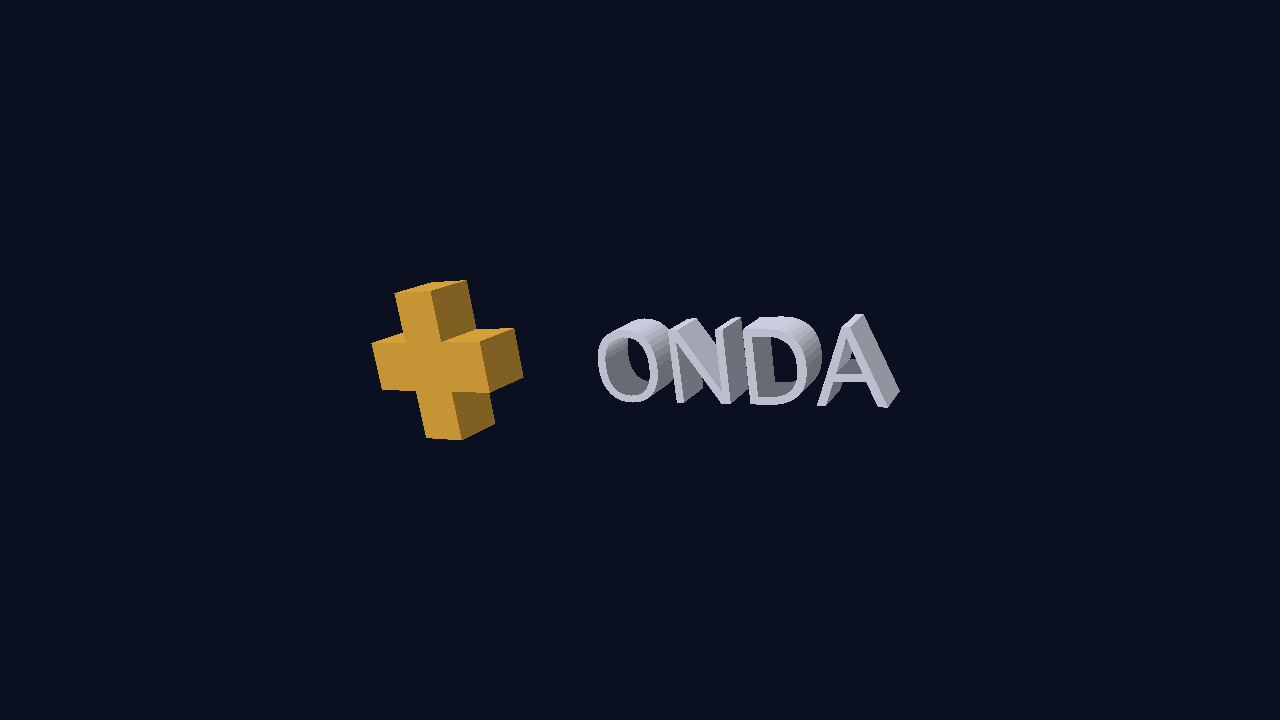
Inside a <code>&lt;Scene3D&gt;</code>, give a shape or a line of text an <code>extrude</code> depth and it stops being a flat plane — it becomes a LIT 3D SOLID, with a front face, a back face, and side walls the light catches as it turns. Left, a flat 2D wordmark and icon; right, the same two EXTRUDED into solids and tilted in perspective: the letter counters (the holes in O, D, A) cut clean through, and the side walls shade darker than the faces. The spinning-logo / kinetic-3D-title move — built from your existing vector shapes and fonts, no model files. GPU only; the live preview and CPU draw the flat outline.

<Scene3D camera={{ position: [640, 360, -1500], fov: 42 }}>
  <Text fontSize={170} color="#e8edff" extrude={80}
    position3d={[800, 360, 0]} rotation3d={[16, 28, 0]}>ONDA</Text>
</Scene3D>
07

Audio-driven motion — synced to the beat

rendered live by the ONDA wasm engine — unmute to hear the beat

The single biggest "professionally edited" tell for anything with music. <code>useAudioBeats(src)</code> analyzes a track into beats, onsets, and tempo — in FRAME units, deterministic, identical in preview and export — and the pure helper <code>beatPulse(frame, beats)</code> turns each beat into a 1→0 punch you multiply into any property. Below, the ACTUAL ONDA wasm engine renders this LIVE in your browser, synced to a 120 BPM kick the engine detected itself — the kick swells, the EQ bars jump, and a shockwave fires on every beat. It plays automatically; <strong>unmute</strong> to hear the kick it locks to. Cut on the beat, punch on the kick, drop text on a transient — it plays live on both backends, no GPU finishing pass.

const b = useAudioBeats('/music.mp3')
const punch = beatPulse(frame, b?.beats ?? [], 9)
<Ellipse width={300 * (1 + 0.5 * punch)} … />
08

Light-wrap

Light-wrap before
pasted on
Light-wrap after
light-wrap

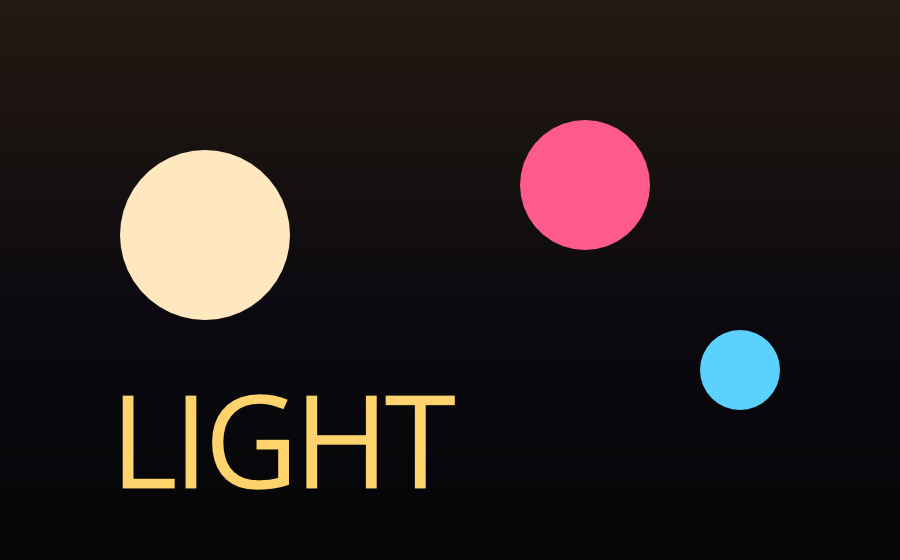
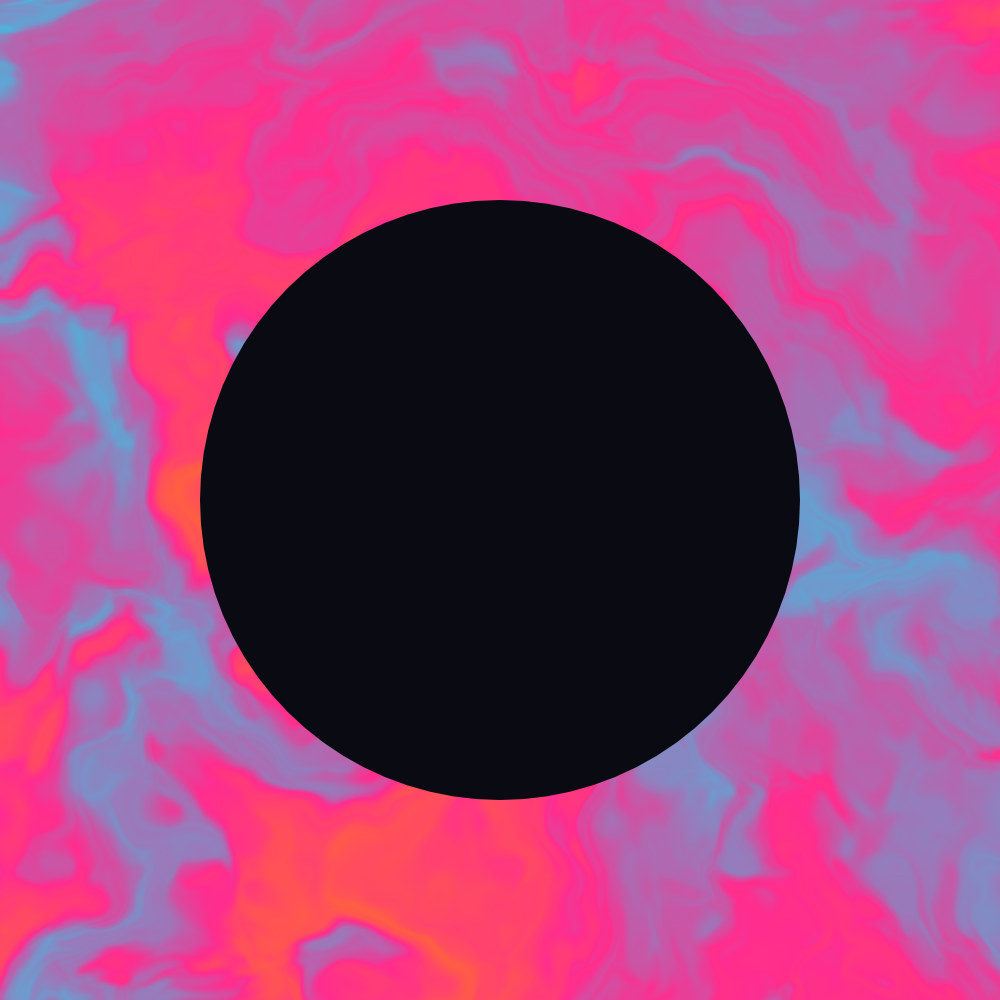
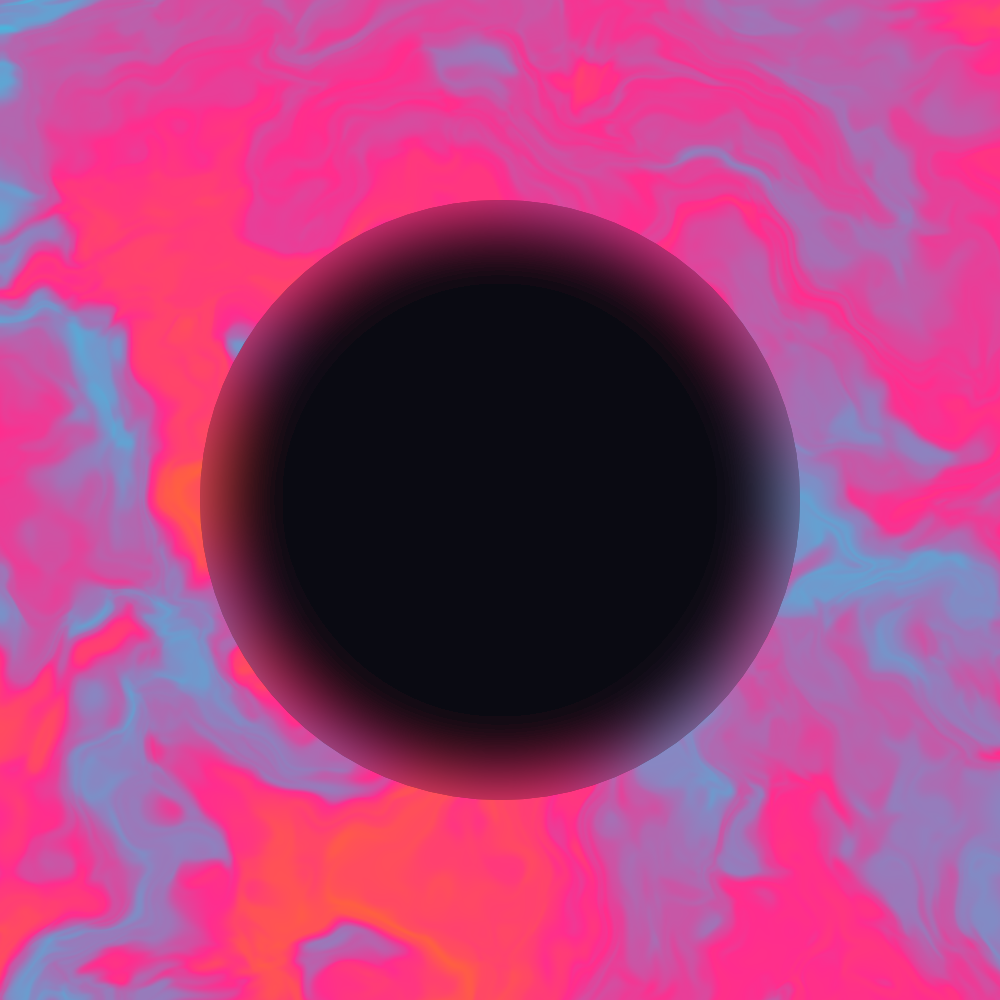
A cut-out subject dropped onto a background fools no one — the edges are too clean. Light-wrap is the fix every compositor reaches for: the blurred background light bleeds a few pixels onto the subject's silhouette, in linear light, so it reads as SHOT IN the scene rather than pasted on top. Left, a hard dark cut-out on a vivid plate; right, the same shape with the surrounding colour drawn onto its inner edge. The #1 tell for landing AI-generated or stock media inside a composition.

<Image src="subject.png" lightWrap={{ sigma: 30, strength: 1 }} />
09

Film grain

Film grain before
clean · banding
Film grain after
film grain

The compositing glue — and the dither that saves a dark-gradient hero. A luminance-banded monochrome noise laid over the frame: it ties mismatched sources (an AI plate, a real product, vector type) into one photographed image, and it breaks up the 8-bit banding that stripes a deep gradient. Left, a clean-digital gradient with latent banding; right, the same frame with a fine filmic grain. It peaks in the midtones and stays clean at pure black and white — and unlike the moves above, it renders identically on the CPU reference, so the preview is never blind to it.

<Group grain={{ intensity: 0.04, size: 1.2, seed: frame }}>…</Group>
10

morphPath

morphPath
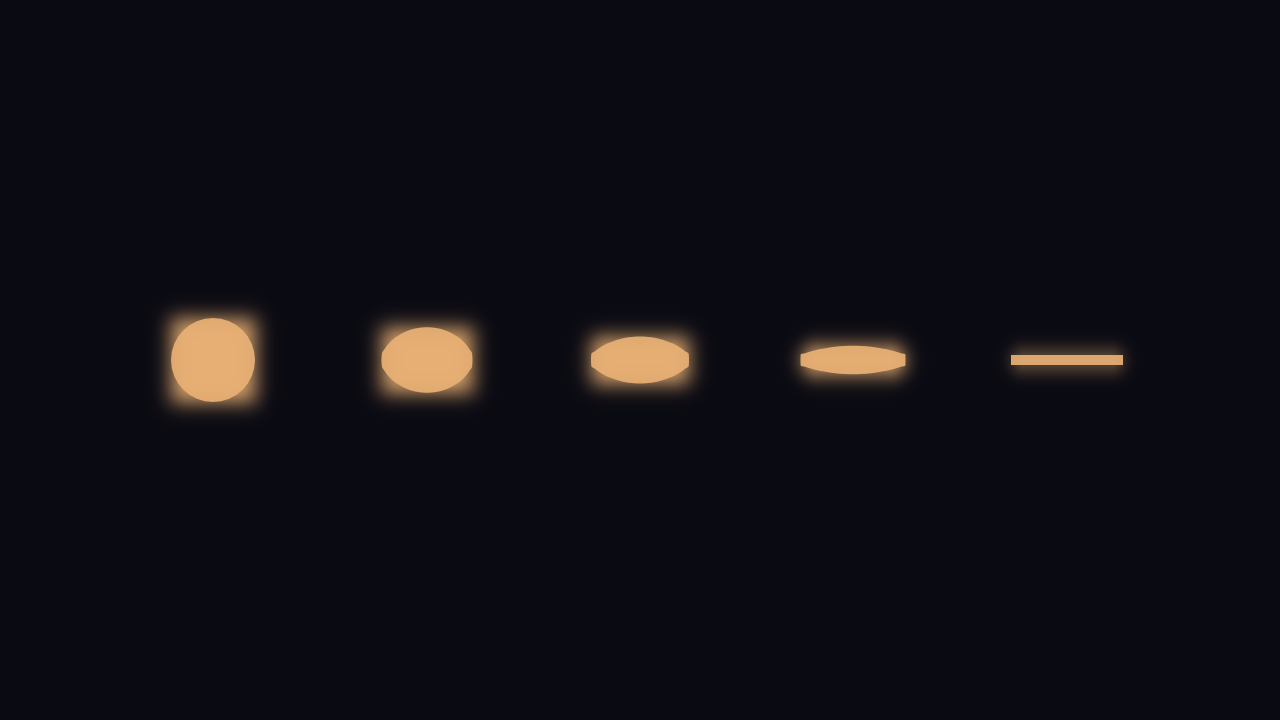
circle → rule, five stages of one morph

A circle continuously morphing into a rule — one element transforming into another, the Apple/ElevenLabs "magic move" that reads as a single object, not a crossfade. morphPath(from, to, t) returns the in-between path for an animated t; flubber solves the hard part — point CORRESPONDENCE between the two outlines (a naive d-string lerp tears shapes apart). Zero engine change, so it plays live.

<Path d={morphPath(CIRCLE, RULE, ramp(frame, 70, 95))} fill="#fff" />

SHAPE OPERATORS

The mograph vocabulary — operations on the path itself.

Not pixels — geometry. The operators motion designers live in, all here: trim paths draw a stroke on; the repeater stamps a subtree into grids, radial arrays and compounding spirals; boolean ops merge shapes into one outline.

01

Trim paths — the stroke line-draw

live · animating trimEnd 0→1
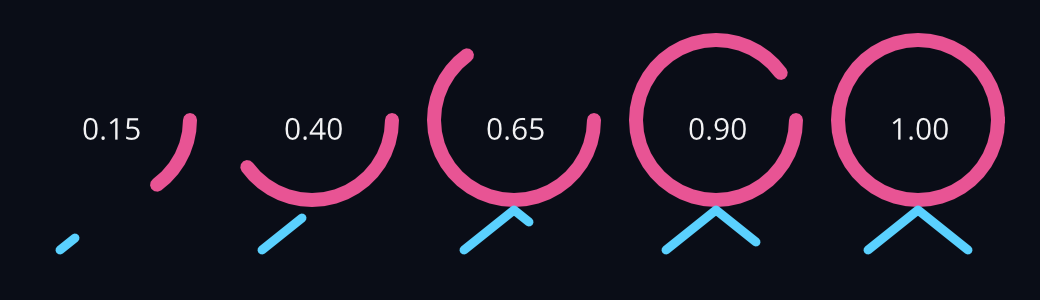
Trim at five stages from 0.15 to 1.0
five stages — rendered by ONDA (GPU = CPU)

Put a trimStart / trimEnd on any stroked shape and the engine draws only that arc-length slice of the outline — animate trimEnd from 0→1 for a draw-on reveal (logos, underlines, signatures, loaders). The engine measures the path length with kurbo and converts the trim to a length-normalised dash, so you never touch pixel lengths; it renders identically on the GPU and the CPU reference. The looping circle + check above is that same stroke-dashoffset mechanism, in pure SVG; the strip is five frames rendered by the engine itself.

<Ellipse stroke="#e85494" strokeWidth={14} strokeCap="round"
  trimEnd={interpolate(frame, [0, 40], [0, 1],
    { extrapolateRight: "clamp" })} />
02

Repeater — grids, radial arrays, spirals

A radial petal array, a compounding spiral, and a nested grid
radial · spiral (compounding) · nested grid — one <Repeater> each

Stamp a subtree count times, each copy COMPOUNDING one more step of the transform — offset, rotation, scale — plus a step of the opacity ramp. That compounding is the trick: rotation + scale don’t fan out by i×, they wind into a real spiral (middle). Nest two and you get a grid (right); pure rotation about a pivot gives a radial array (left). It’s After Effects’ shape Repeater, as one component — pure composition, so it renders the same on every backend, live and exported.

<Repeater count={26} rotation={16} scale={0.93}
  originX={180} originY={180} endOpacity={0.15}>
  <Ellipse width={40} height={40} fill="#5ad1ff" />
</Repeater>
03

Boolean ops — union, difference, intersect, xor

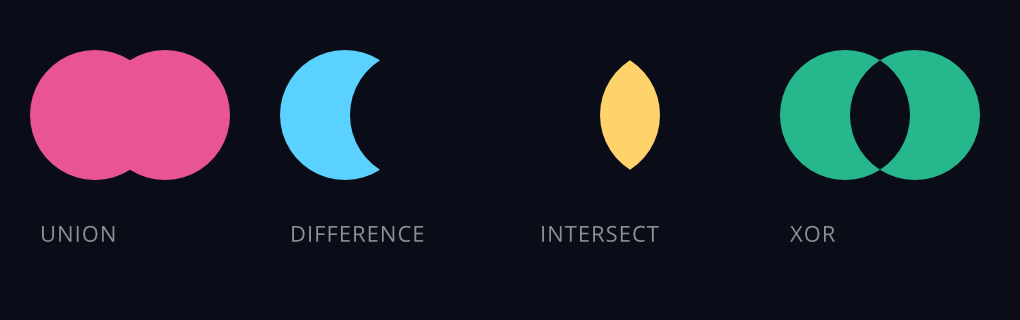
Two circles combined four ways: union, difference, intersect, xor
two circles, four ops — one <Merge> each (GPU = CPU)

Combine shape children into ONE outline (After Effects' "Merge Paths"): union to add, difference to subtract the rest from the first, intersect for the common area, xor for the symmetric difference. A ring = circle − circle; a lens = circle ∩ circle; a speech bubble = rect ∪ triangle. The engine flattens each operand's curves, folds them pairwise with i_overlay, and rebuilds a single fillable/strokable path — resolved on both backends, so GPU and CPU agree to the pixel.

<Merge op="difference" fill="#5ad1ff">
  <Ellipse width={130} height={130} />
  <Ellipse x={70} width={120} height={120} />
</Merge>

PARTICLES

A deterministic particle emitter.

Bursts, fountains, confetti, sparks, dust, snow. Every particle's whole state — spawn point, velocity, age, size, opacity, colour, spin — is a PURE function of the frame, the seed, and the index, so the same comp renders the same field on every machine. No Math.random, no wall-clock, no engine pass: each live particle is just a shape, so position, size, opacity and colour render identically on the CPU and GPU (only spin needs the GPU, like all rotation).

01

<Particles> — a physics burst

A colourful omnidirectional confetti burst with spinning squares and sparkles
one frame of a 170-piece burst — deterministic, frame-driven

Emit `count` particles from an origin (or a spawn disc), launch them along an `angle` within a `spread` cone at a `speed` with variance, then let `gravity` pull them through their `lifetime` while `size`, `opacity` and `colour` lerp and `spin` turns them. `emitOver` staggers the emission; `loop` re-emits for a continuous fountain. Because it's a closed-form function of the frame, you can scrub anywhere and export deterministically — and it's frame-based, so it composes with the rest of the timeline.

<Particles count={170} x={W/2} y={190}
  spread={360} speed={5} gravity={0.08} lifetime={70}
  shape="square" size={[13, 6]} spin={420}
  colors={["#e85494", "#ffd36b", "#5ad1ff", "#27b78d"]} />